
 Tips* This project can be very messy with all the glue. So to keep your hands very clean. (unless you want an old dirty looking basket) I use a couple of old wash cloths. One damp to clean the glue off my fingers and the other to dry.
Supplies and materials needed:
Quick Dry White Glue.
Close pins & Pencil
Piece Of Burlap- 7"x 3"
Scrap Cardboard
Condiment Cup (CC) The one I used in this project is a nugget sauce cup from a McFast food restaurant.
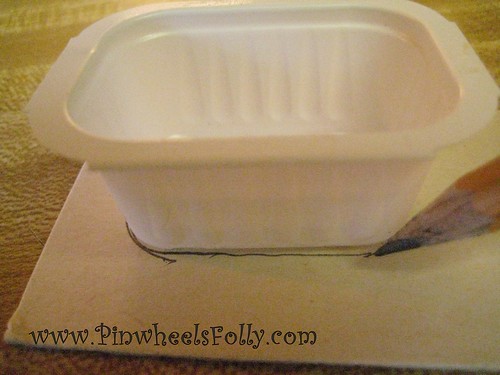 Trace the bottom of the CC on the scrap cardboard. The cut-out doesn't have to be perfect. The burlap will cover quite a few imperfections.
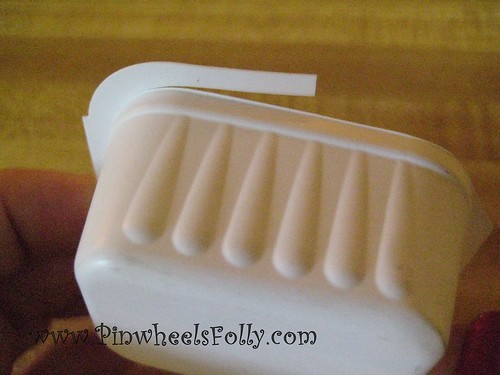 Next trim off the CC lip. I used a pair of sharp craft scissors. An Exacto knife will work too but be careful not to slip and cut down the side of the CC. Or worse yet your fingers. This is also the time to cut the CC shorter if you prefer shallow baskets.
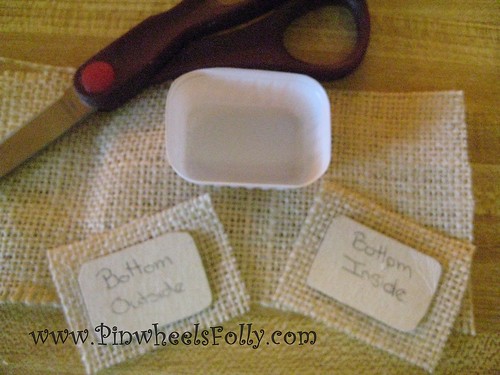 Covering your basket
Cut burlap pieces. One 6.5" x 3" piece ( to cover basket ) and two pieces at least 1/4" bigger around then the cardboard bottoms.
 Place a thin line of glue around the edges of all 3 pieces to keep from fraying while working. Let dry.
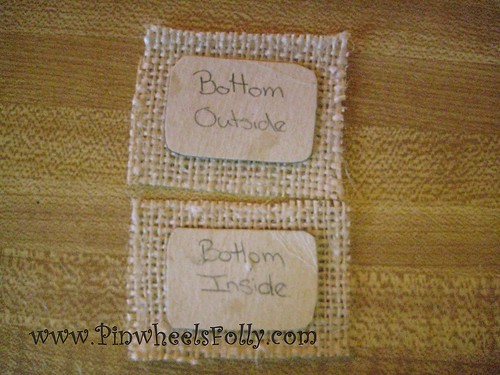 Next glue the two cardboard bottoms into the middle of matching burlap pieces. Set these aside to completely dry for later.
 Match up the burlap along the inside bottom edge of CC. Leave about an 1/8" of starting end of burlap unglued so that the finished end of the fabric will match up correctly and the white side of the cup wont show.
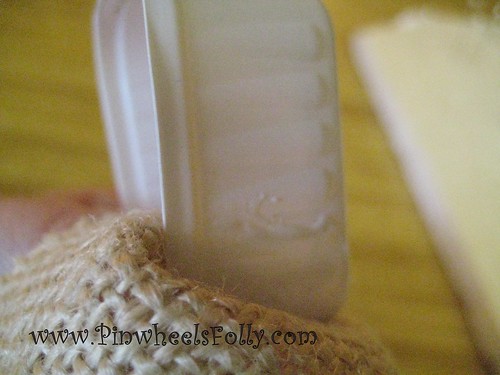 Spread glue on one half of a short side and third of the way around to the next corner of the CC.Do one corner and one side at a time. I like to make sure the pervious corner is almost dry if not all the way before going on to the next.
 Continue gluing the side holding in place with close pins as you go.
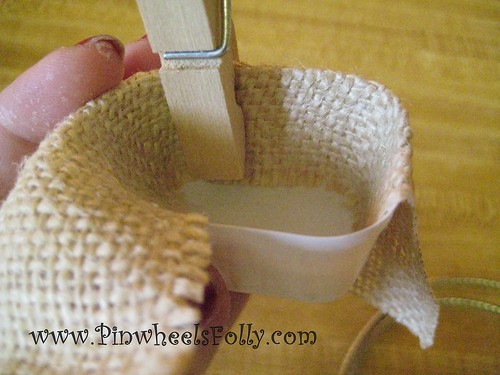 As it dries go back and check glued burlap and press back into shape as needed. Basically you are molding the fabric over as it dry's.
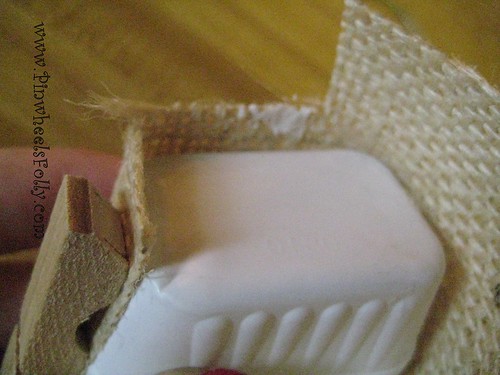 When the 1st corner is almost dry, trim off all but a 1/4 inch of burlap. Do this in sections and add glue lines if fraying.
  As you begin to work on the last corner flip the unglued burlap back.
  Glue ending burlap in place. Flip burlap back over and glue.
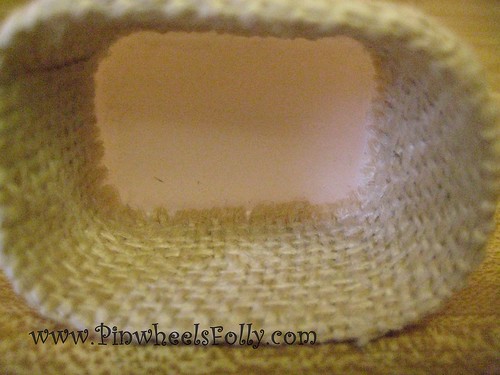 The inside should look something like this now.
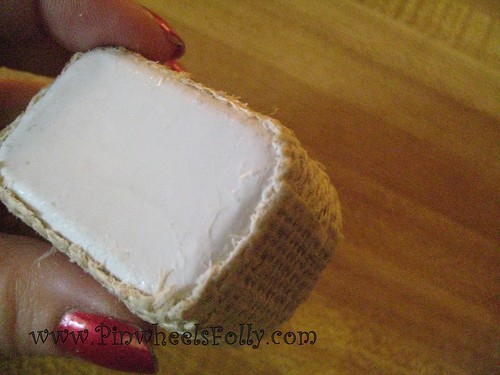 Trim off a little under an 1/8" from the bottom edge. Glue and mold to the sides.
  Finishing Basket Bottoms
Now begin gluing the two bottom pieces you had set aside earlier to dry. Fold over all four pieces of burlap and glue. Trim off corners when dry.
 Glue the bottom inside piece first into the CC
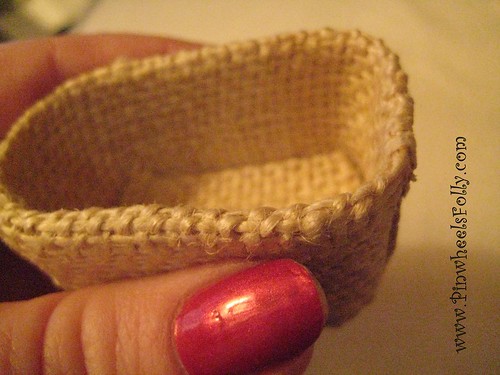 As the glue soaks into cardboard it will be more ply able and easier to mold to the curved bottom for a nice fit
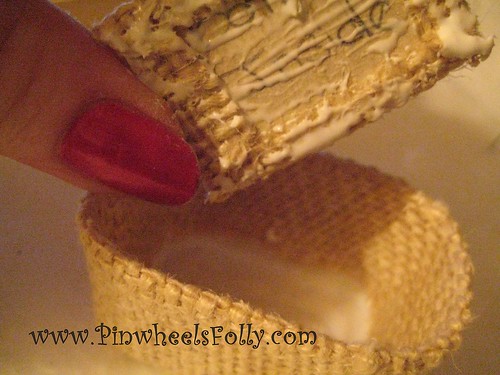
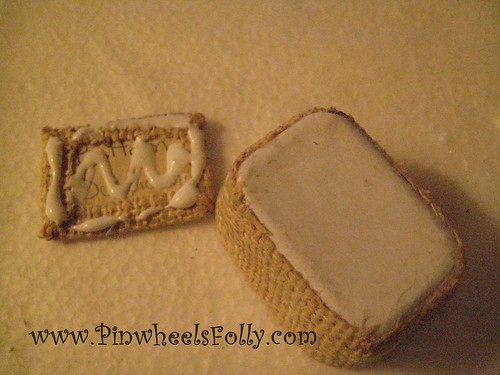 Use a generous amount of glue on the burlap covered cardboard bottom piece
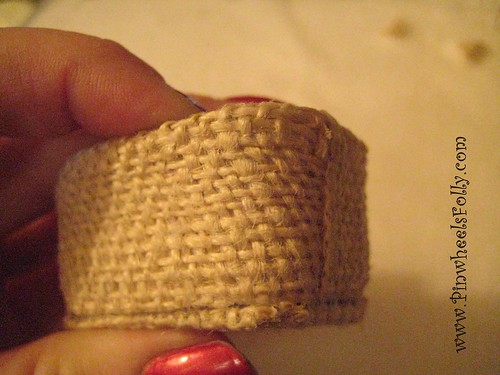 Push until you see some glue. Spread excess glue with a pin along the edge and start molding again. Make sure your hands are clean. Add more glue to make ply-able as need to mold.
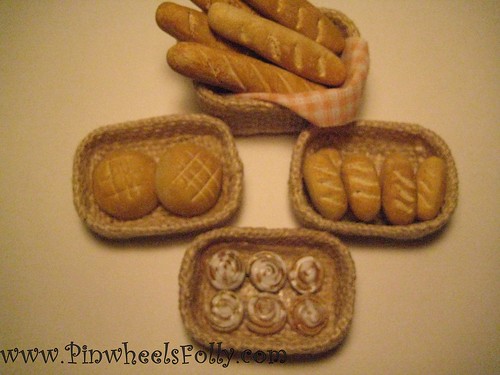
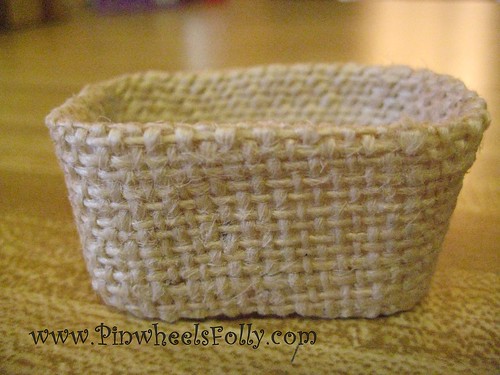 Enjoy your new basket!
 Permission is explicitly denied for any republication of text or photographs in this article without the prior express written consent of the author.
2 comments:
Great basket idea. Thanks for the demo. Can't wait to try this!
What a terrific idea for a basket - thanks very much for the tutorial and for the great photos for each step. You have explained everything very clearly. I am looking forward to trying this out.
Post a Comment