Showing posts with label All Tutorials. Show all posts

Tuesday, January 12, 2010

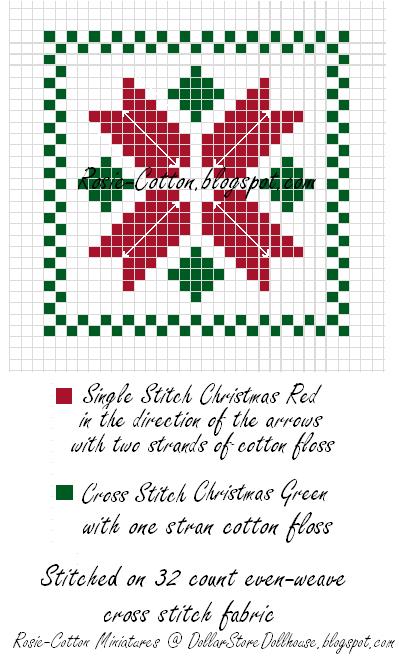
Miniature Dollhouse Cross Stitch Pillow "Christmas Poinsettia" Chart

You may have noticed that the above picture has the water mark Rosie-Cotton.blogspot.com
Its from one of three blogs I run. Just before Christmas I had planned on combining all three of my blogs due to health issues and lack of time. I did decide to keep this blog separate for my mini blogging and tutorials.I gal can change her mind cant she?
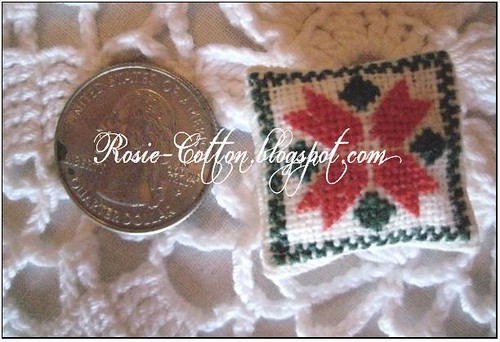
I made 15 of these little gems for a Christmas swap.


I stuffed them with cotton balls and used a polished cotton for the back of the pillow.

I also glued these together instead of sewing them together.
Thursday, January 29, 2009

Dollhouse Scrap Pot Holder Tutorial (Real Life Scale)

How cute are these?! Nanette over at "Freda's Hive" shows you how to make these adorable dollhouse potholders. Wouldn't a quilt for a little girl be just lovely. With oodles of ribbon roses and lace curtains. Or how about using this pattern to decorate a dollhouse dustcover. You could just sew the cover and fusible web the houses onto it. What I like best of all is it uses up your leftover scraps. Thank you Nanette for sharing!!! Click here to go straight to the tutorial .
Enjoy!
Tammy Renee

Sunday, December 7, 2008

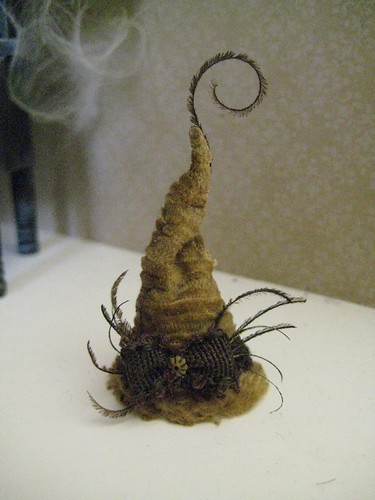
Tutorial: Vintage Dollhouse Witches Hat

A new member of one of my dollhouse miniature groups asked how I made this hat. Below is my reply. Feel free to post any questions in the comments section.

Belinda I have been planning on making a tutorial for this hat for a little while now. Here is a brief discription on how it's done. I took some scrap greeting card weigth card board and made a tall cone as a base to glue my fabric onto, which is a piece of vintage corduroy upholstery fabric glued on sideways.The salvage edge of the fabric was all fuzzy which I used as trim on the bottom. Test fit the fabric to see how you like it before you glue to the card board cone. You can trim later. Cover the cone in white tacky glue, enough to soak into the fabric and the card board. After the glue sets up for a few mins the glue softens the card board and you then mold, squish, crush your hat. Let dry. The feathers are small pieces of hand curled peacock feathers. The bow is an scrap of vintage green picot ribbon topped with an old tarnished jewlery finding.

Friday, May 23, 2008

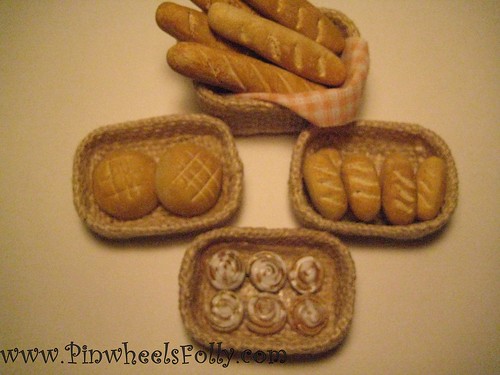
Dollhouse Basket Tutorial

Tips* This project can be very messy with all the glue. So to keep your hands very clean. (unless you want an old dirty looking basket) I use a couple of old wash cloths. One damp to clean the glue off my fingers and the other to dry.

Supplies and materials needed:
Quick Dry White Glue.
Close pins & Pencil
Piece Of Burlap- 7"x 3"
Scrap Cardboard
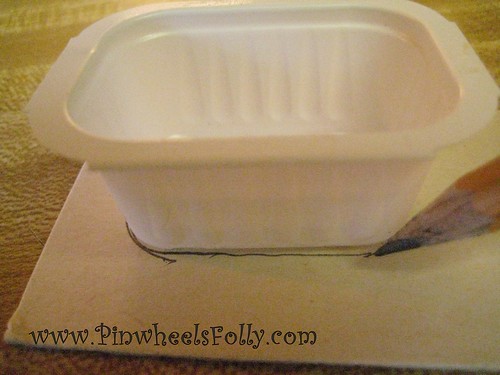
Condiment Cup (CC) The one I used in this project is a nugget sauce cup from a McFast food restaurant.

Trace the bottom of the CC on the scrap cardboard. The cut-out doesn't have to be perfect. The burlap will cover quite a few imperfections.

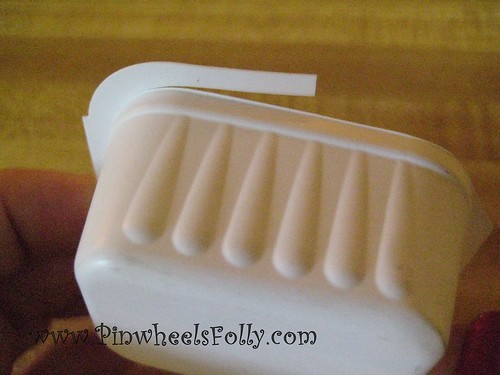
Next trim off the CC lip. I used a pair of sharp craft scissors. An Exacto knife will work too but be careful not to slip and cut down the side of the CC. Or worse yet your fingers. This is also the time to cut the CC shorter if you prefer shallow baskets.


Covering your basket
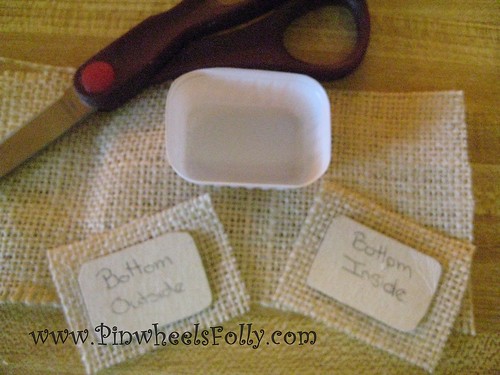
Cut burlap pieces. One 6.5" x 3" piece ( to cover basket ) and two pieces at least 1/4" bigger around then the cardboard bottoms.


Place a thin line of glue around the edges of all 3 pieces to keep from fraying while working. Let dry.

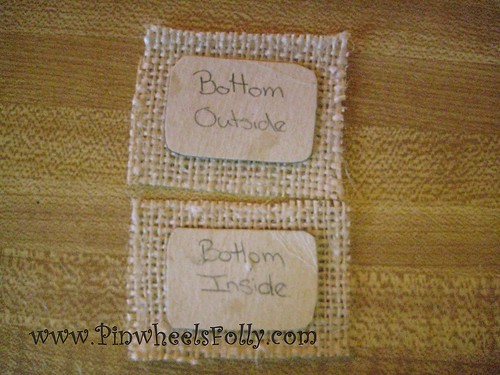
Next glue the two cardboard bottoms into the middle of matching burlap pieces. Set these aside to completely dry for later.

Match up the burlap along the inside bottom edge of CC. Leave about an 1/8" of starting end of burlap unglued so that the finished end of the fabric will match up correctly and the white side of the cup wont show.


Spread glue on one half of a short side and third of the way around to the next corner of the CC.

Do one corner and one side at a time. I like to make sure the pervious corner is almost dry if not all the way before going on to the next.
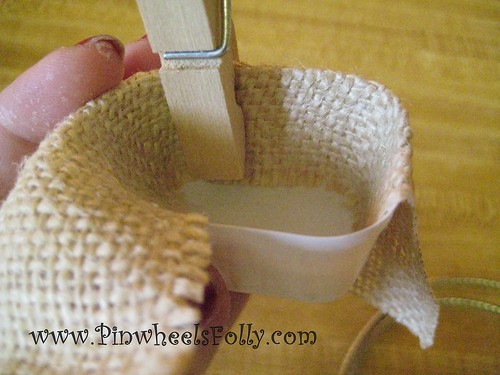
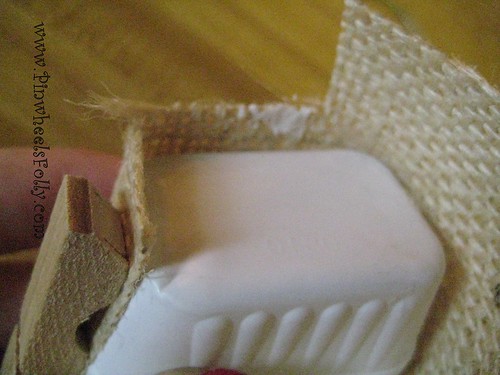
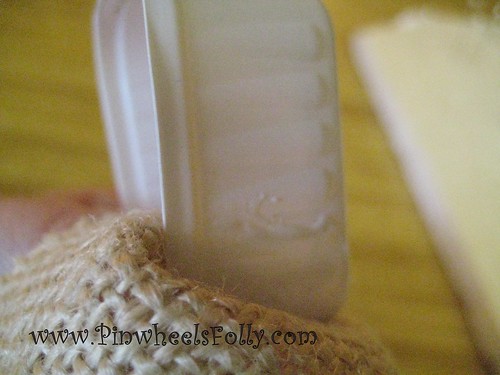
Continue gluing the side holding in place with close pins as you go.


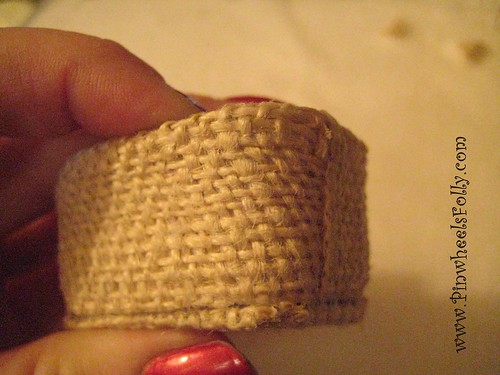
As it dries go back and check glued burlap and press back into shape as needed. Basically you are molding the fabric over as it dry's.

When the 1st corner is almost dry, trim off all but a 1/4 inch of burlap. Do this in sections and add glue lines if fraying.


As you begin to work on the last corner flip the unglued burlap back.


Glue ending burlap in place. Flip burlap back over and glue.
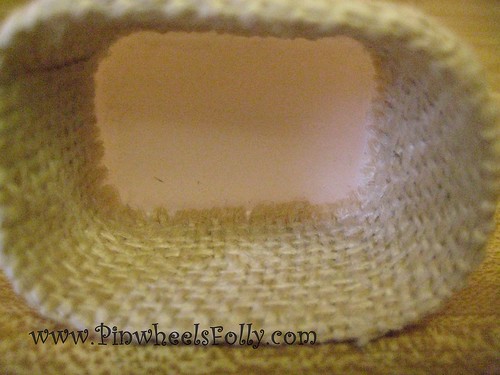
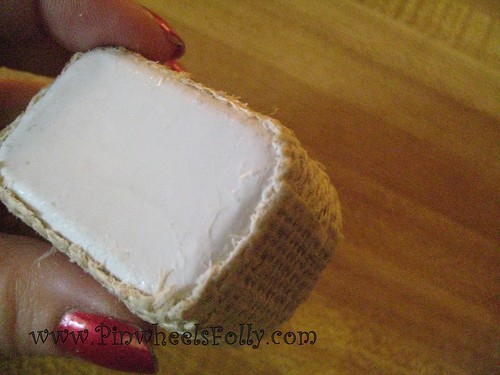

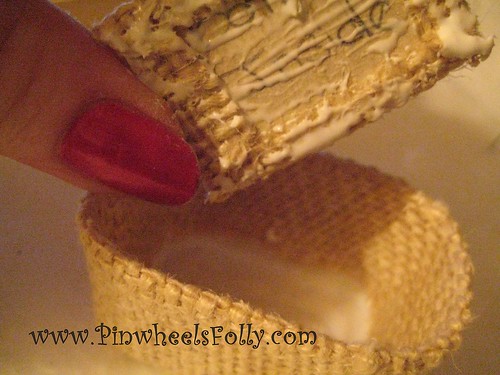
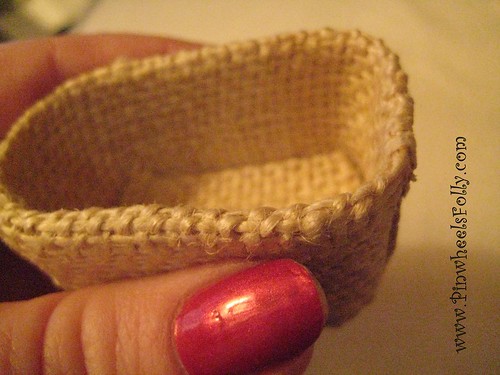
The inside should look something like this now.


Trim off a little under an 1/8" from the bottom edge. Glue and mold to the sides.

Finishing Basket Bottoms
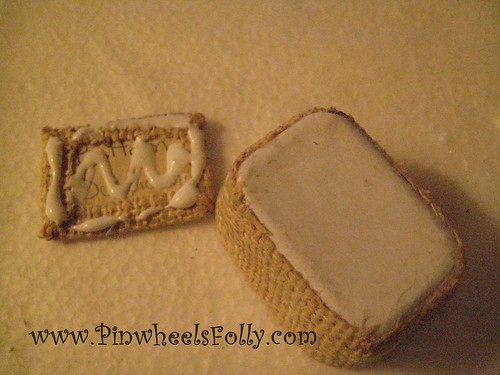
Now begin gluing the two bottom pieces you had set aside earlier to dry. Fold over all four pieces of burlap and glue. Trim off corners when dry.


Glue the bottom inside piece first into the CC


As the glue soaks into cardboard it will be more ply able and easier to mold to the curved bottom for a nice fit

Use a generous amount of glue on the burlap covered cardboard bottom piece


Push until you see some glue. Spread excess glue with a pin along the edge and start molding again. Make sure your hands are clean. Add more glue to make ply-able as need to mold.

Enjoy your new basket!
Permission is explicitly denied for any republication of text or photographs in this article without the prior express written consent of the author.

metatag